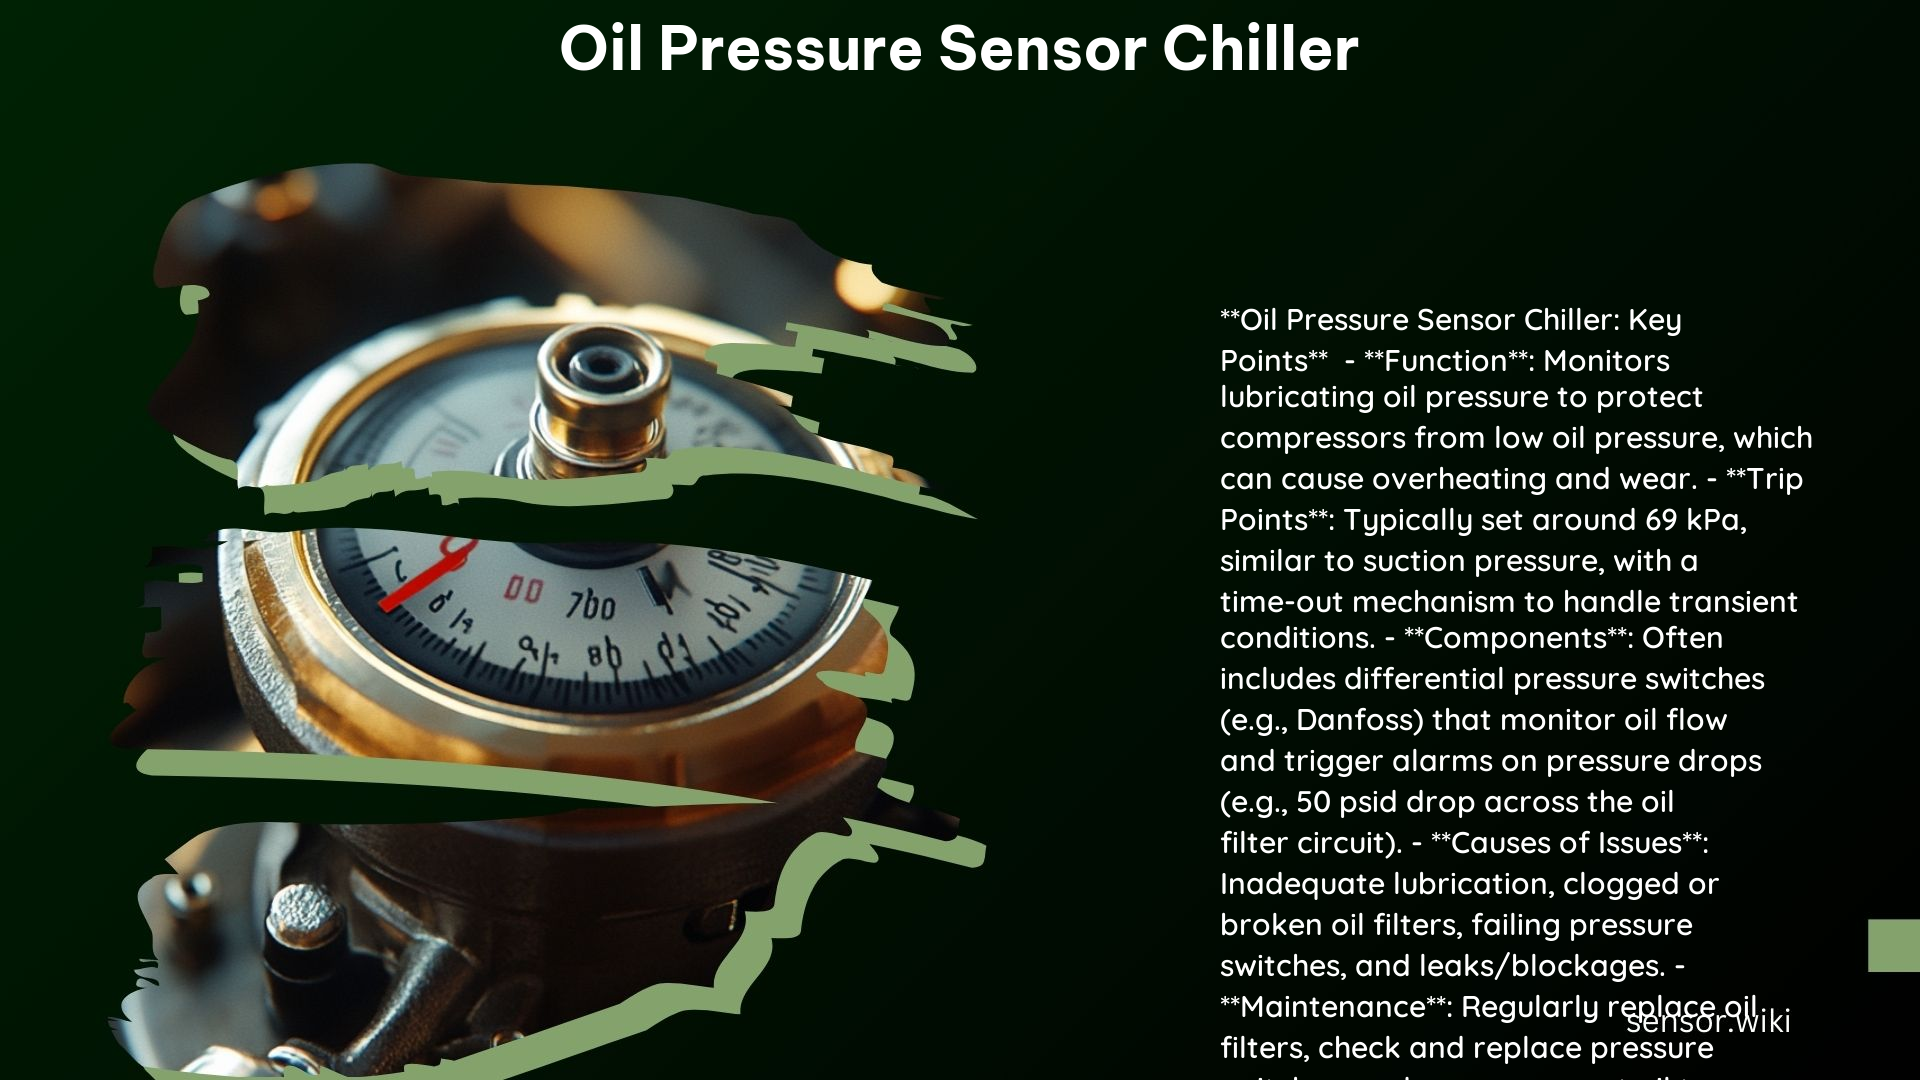
Comprehensive Guide for Oil Pressure Sensor Technicians: Carrier Chiller
Maintaining the proper oil pressure in a Carrier chiller is crucial for the efficient and reliable operation of the system. The oil pressure sensor plays a critical role in monitoring the oil pressure and triggering alarms when the pressure falls outside the acceptable range. In this comprehensive guide, we will explore the common causes of oil pressure sensor errors, the troubleshooting process, and the necessary actions to take when the oil pressure differential alarm is triggered.
What are the Common Causes of Oil Pressure Sensor Errors?
- Electrical Faults:
- Incorrect wiring or loose connections can lead to faulty sensor readings. Ensure all connections are secure and follow the wiring diagram specified in the controls manual.
-
Power supply issues can also affect sensor performance. Verify that the power supply to the module is within the specified range (e.g., 230V +/- 10%).
-
Sensor Damage:
- Physical damage to the sensor can result in inaccurate readings. Inspect the sensor for any signs of damage and replace it if necessary.
-
Corrosion or wear on the sensor connections can also cause issues. Clean or replace these connections as needed.
-
Incorrect Installation:
- Improper installation of the oil pressure sensor can lead to incorrect readings. Ensure the sensor is installed according to the manufacturer’s instructions, including proper torque specifications (e.g., 105 Nm for the oil pump plug).
-
Incorrect placement of the sensor can also affect readings. Verify that the sensor is mounted correctly on the bearing housing cover studs.
-
Oil Contamination:
- Contaminated oil can affect the performance of the oil pump and sensor. Check the oil for any signs of contamination and replace it if necessary.
- Low oil levels or inadequate lubrication can also trigger oil pressure alarms. Ensure the oil level is within the recommended range.
How to Troubleshoot Oil Pressure Sensor Issues?
- Initial Checks:
- Oil Pressure Readings: Check the oil pressure readings on the display to determine if the pressure is within the acceptable range (typically 20-60 psi, but specific to the system design).
-
Alarm Codes: Review any alarm codes displayed on the system, such as Alarm 41 for low oil pressure on a Carrier chiller.
-
Electrical Connections:
- Visual Inspection: Inspect all electrical connections to the oil pressure sensor for any signs of damage or looseness.
-
Multimeter Testing: Use a multimeter to test the resistance of the sensor. For example, the sensor should show infinity when the compressor is stopped and 0 Ω when the compressor is running with sufficient oil pressure.
-
Sensor Output Testing:
- Disconnect and Test: Disconnect the sensor from the module and test the sensor output with a multimeter. Compare the readings to the expected values specified in the technical documentation.
-
Short Circuit Test: Perform a short circuit test by connecting the sensor connections in a short circuit and verifying the module’s response.
-
Oil Levels and Quality:
- Oil Level Check: Verify that the oil level is within the recommended range. Low oil levels can trigger the oil pressure alarm.
-
Oil Quality Check: Inspect the oil for any signs of contamination. Check the oil filter and replace it if necessary to ensure good oil flow and lubrication.
-
System Leaks and Blockages:
- Pressure Gauge Check: Use a pressure gauge to check for any pressure drops across the system, indicating potential leaks or blockages.
- Visual Inspection: Inspect the system for any signs of leaks or blockages, particularly around the oil pump and filter.
What Actions Should be Taken When the Oil Pressure Differential Alarm is Triggered?
- Immediate Checks:
- Oil Pressure Readings: Check the oil pressure readings immediately to determine if the pressure is within the acceptable range.
-
System Status: Review the system status to identify any other alarms or issues that may be related to the oil pressure alarm.
-
Potential System Leaks:
- Pressure Gauge Check: Use a pressure gauge to check for any pressure drops across the system, indicating potential leaks or blockages.
-
Visual Inspection: Inspect the system for any signs of leaks or blockages, particularly around the oil pump and filter.
-
Necessary Adjustments or Repairs:
- Adjust Oil Levels: Adjust the oil level if it is low. Ensure the oil level is within the recommended range.
- Replace Oil Filter: Replace the oil filter if it is clogged or dirty to ensure good oil flow and lubrication.
- Repair or Replace Sensor: Repair or replace the oil pressure sensor if it is damaged or faulty. Ensure proper installation and calibration.
- Check Electrical Connections: Check and secure any loose electrical connections to the oil pressure sensor.
Technical Specifications and Tools
- Acceptable Oil Pressure Range: Typically 20-60 psi, but specific to the system design. For example, the oil pressure must be a minimum of 1.5 times suction pressure plus 15 psi, and greater than the discharge pressure minus 25 psi.
- Typical Sensor Resistance Values: The sensor should show infinity when the compressor is stopped and 0 Ω when the compressor is running with sufficient oil pressure.
- Recommended Tools: Pressure gauges, multimeters, and calibration tools for the oil pressure sensor.
Reference Links
- Oil Pressure Problems in Refrigeration Systems: https://www.achrjournal.com/articles/oil-pressure-problems-in-refrigeration-systems
- Low Oil Pressure – Carrier Chiller: https://hvac-talk.com/vbb/showthread.php?1524524-Low-Oil-Pressure-Carrier-Chiller
- Technical Information: Oil Pressure Safety Controls: https://www.emersonclimate.com/en-us/resources/literature-and-tools/technical-information/oil-pressure-safety-controls

