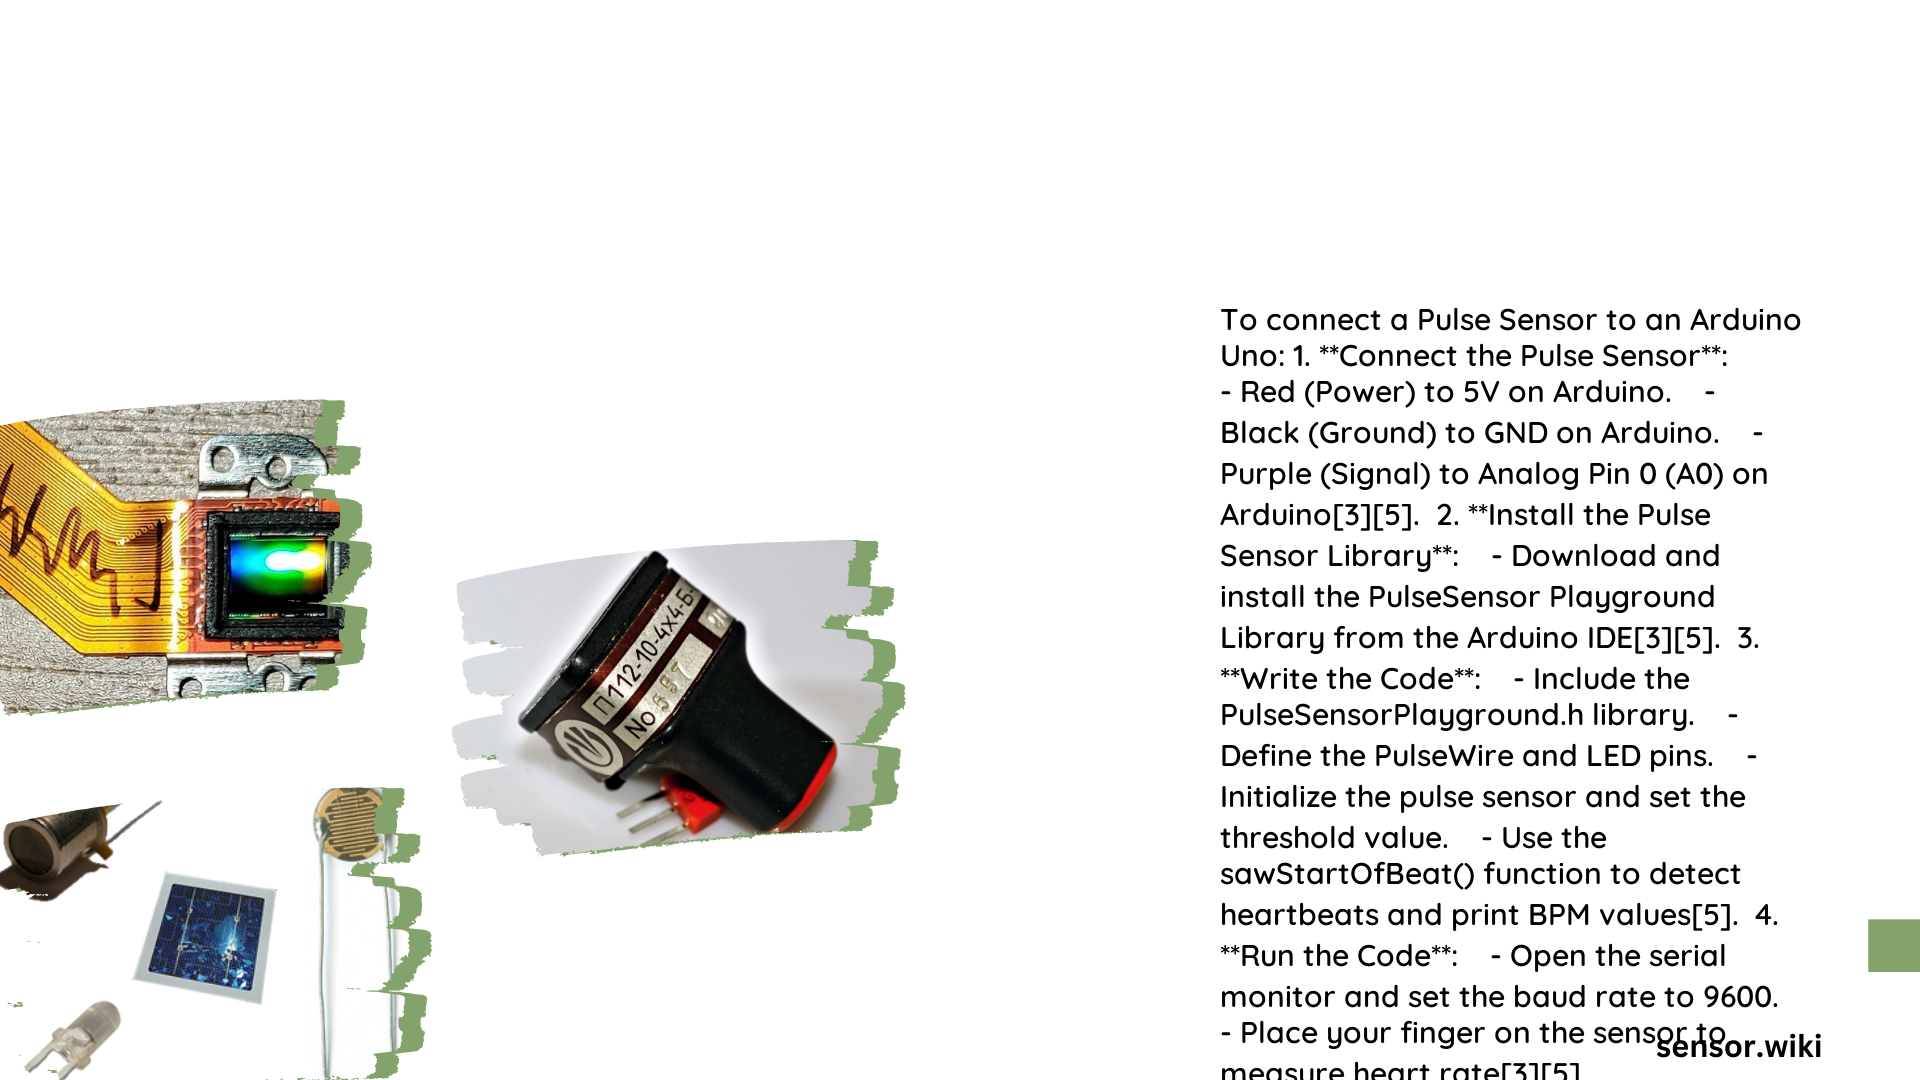
Pulse sensors provide an accessible and affordable method for monitoring heart rate using Arduino Uno technology. These compact electronic devices leverage photoplethysmography principles to detect blood volume changes in peripheral tissues, enabling real-time cardiovascular data collection. By understanding the intricate connection between sensor hardware, Arduino programming, and signal processing techniques, developers and hobbyists can create sophisticated health monitoring projects with minimal complexity.
What is a Pulse Sensor for Arduino Uno?
A pulse sensor is a specialized electronic module designed to measure heart rate by detecting blood volume changes through optical sensing mechanisms. When integrated with Arduino Uno, it transforms complex physiological data into readable digital signals.
Key Components of Pulse Sensor
| Component | Function |
|---|---|
| Photodiode | Detects light absorption variations |
| LED | Illuminates tissue for measurement |
| Amplification Circuit | Enhances weak signal strength |
| Filter Components | Reduces noise interference |
How to Connect Pulse Sensor to Arduino Uno?

Wire Connection Steps
- Connect red wire to Arduino 5V pin
- Connect black wire to Arduino GND pin
- Connect purple signal wire to analog pin A0
- Ensure secure and clean connections
Voltage and Power Requirements
- Operating Voltage: 3V – 5.5V
- Recommended Arduino Pin: 5V
- Power Consumption: Low (typically <20mA)
What Code Structures Work Best?
Sample Arduino Code Snippet
const int PulseSensorPin = A0;
int Signal;
int Threshold = 550;

void setup() {
  Serial.begin(9600);
}

void loop() {
  Signal = analogRead(PulseSensorPin);

  if (Signal > Threshold) {
    // Heartbeat detected
    Serial.println("Heart Beat!");
  }

  delay(20);
}
What Challenges Might You Encounter?
Common Troubleshooting Tips
- Ensure proper finger placement
- Minimize ambient light interference
- Use consistent pressure when measuring
- Check wire connections
- Calibrate sensor threshold
Advanced Pulse Sensor Techniques
Signal Processing Methods
- Moving average filtering
- Butterworth digital filters
- Peak detection algorithms
- Noise reduction techniques
Performance Metrics
Expected Heart Rate Ranges
- Resting Heart Rate: 60-100 BPM
- Athletic Individuals: 40-60 BPM
- Maximum Accuracy: ±5 BPM
Practical Applications
Project Ideas
- Fitness tracking devices
- Medical monitoring systems
- Stress level indicators
- Biofeedback experiments
- Interactive health dashboards
Recommended Libraries
Top Arduino Pulse Sensor Libraries
- PulseSensorPlayground
- HeartRateLibrary
- ArduinoPulseSensor
Safety and Precision Considerations
Measurement Best Practices
- Use clean, dry fingers
- Maintain consistent environmental conditions
- Avoid movement during measurement
- Compare results with professional equipment
Sensor Calibration Techniques
Calibration Process
- Establish baseline readings
- Compare with medical-grade devices
- Adjust threshold values
- Implement statistical smoothing
Cost and Accessibility
Budget Considerations
- Typical Pulse Sensor Cost: $5 – $15
- Arduino Uno Compatible: Most standard pulse sensors
- Low-cost prototyping solution
Future Development Potential
Emerging Trends
- Machine learning integration
- Wireless transmission capabilities
- Enhanced signal processing algorithms
- Miniaturization of sensor technology
Reference:
– Pulse Sensor Arduino Tutorial
– Arduino Pulse Sensor Interfacing
– Heart Rate Monitoring with Arduino
