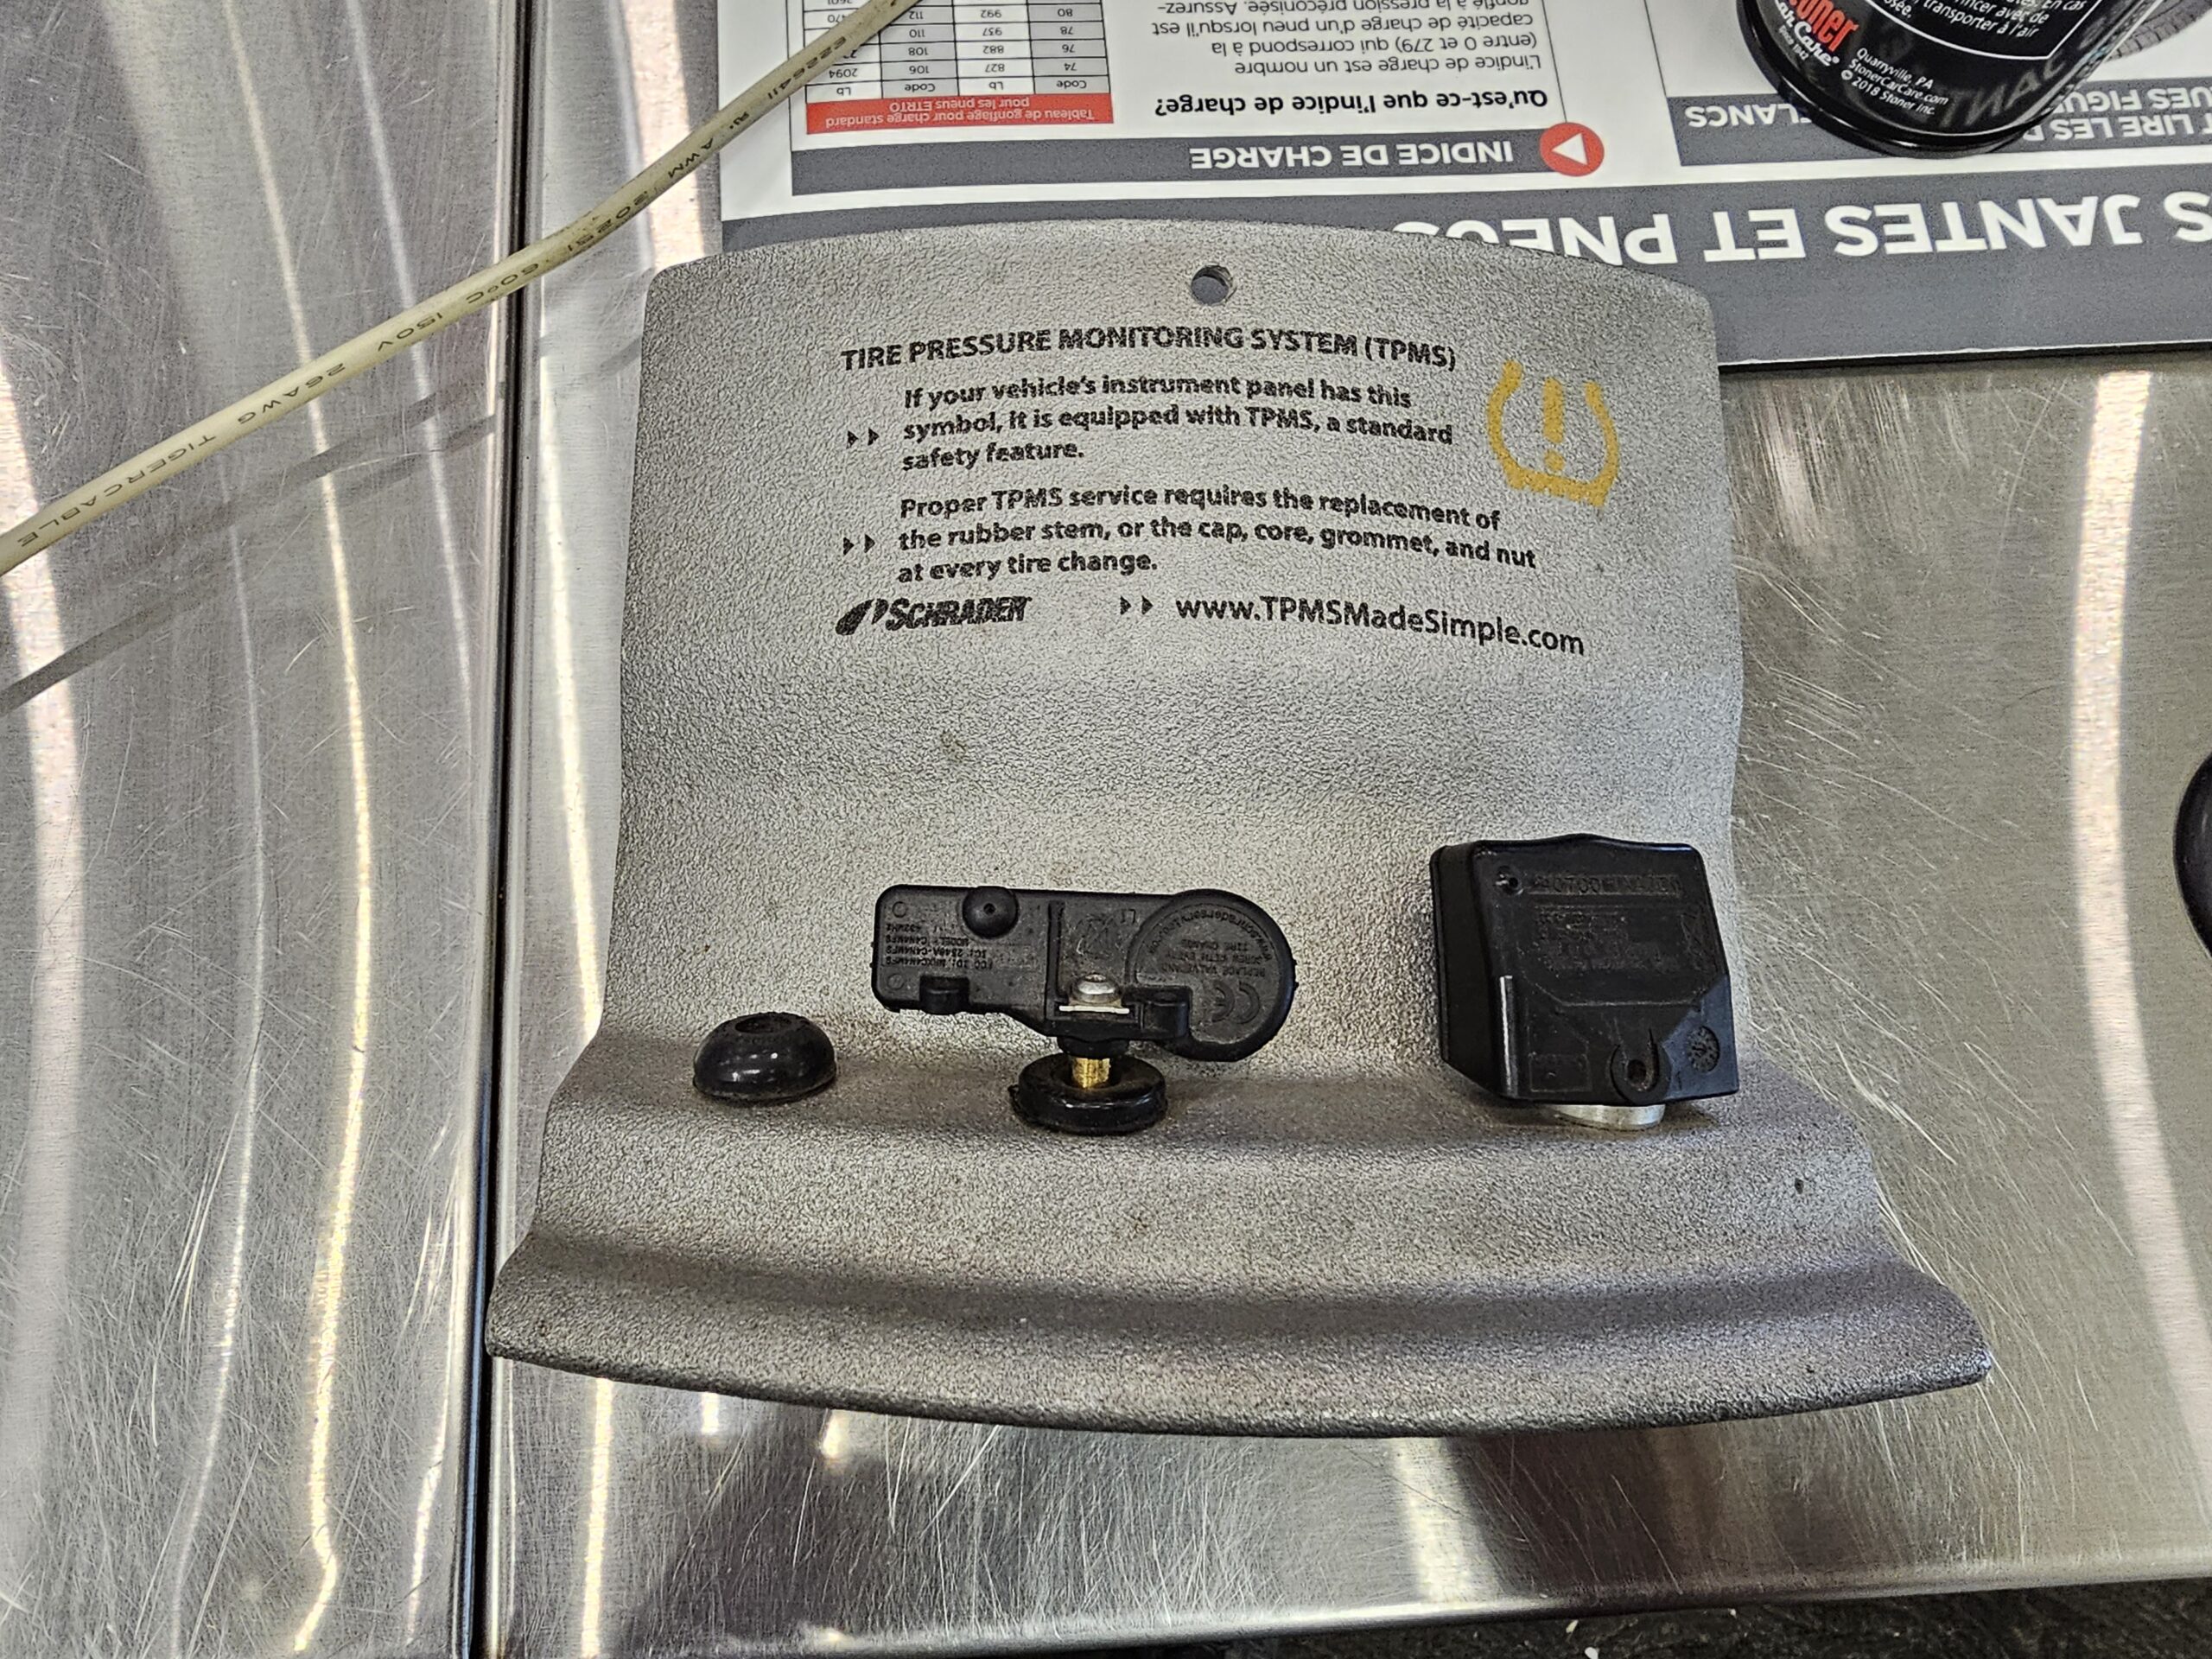
Replacing the Tire Pressure Monitoring System (TPMS) sensors in your vehicle can be a cost-effective and satisfying DIY project. This comprehensive guide will walk you through the necessary tools, step-by-step instructions, and technical specifications to ensure a successful TPMS sensor replacement.
Tools Required for TPMS Sensor Replacement

- Valve Stem Remover: This specialized tool is used to remove the valve stem core, allowing the air to be released from the tire. These can be purchased on Amazon for around $5.
- Valve Stem Puller: This tool helps to safely extract the valve stem from the tire. It can be found on Amazon for approximately $10.
- Scissor Jack: A scissor jack is essential for lifting the car and breaking the bead on the tire. If your vehicle doesn’t come with one, you can buy a quality scissor jack on Amazon for around $20.
- Bead Breaker Tool: This tool is used to break the bead on the tire, separating the tire from the wheel rim. It can be found on Amazon for approximately $15.
- TPMS Programming/Cloning Tool: This specialized tool is used to program the new TPMS sensors, ensuring they are properly recognized by the vehicle’s computer. You can find a TPMS programming tool on Amazon for around $20.
Step-by-Step Guide to Replace TPMS Sensors

- Jack Up the Car: Safely lift the car using the scissor jack and secure it with jack stands. Ensure the jack stands are placed on the frame rail for maximum stability.
- Remove the Valve Stem Core: Use the valve stem remover tool to remove the core, allowing the air to be released from the tire.
- Break the Bead: Employ the bead breaker tool and the scissor jack to break the bead on the tire. Be cautious to keep the jack base away from the rim to avoid any damage.
- Remove the Old Sensor: Use a Torx wrench to remove the screw that secures the old TPMS sensor to the valve stem, then gently pull the sensor out.
- Install the New Sensor: Attach the new TPMS sensor to the valve stem using the same screw. Ensure the sensor is securely fastened.
- Reassemble: Reassemble the tire and valve stem in the reverse order of the disassembly process. Double-check that all components are properly secured.
Programming New TPMS Sensors
- Use a TPMS Programming Tool: Utilize a TPMS programming tool to configure the new sensors. This tool will help you clone the unique ID number of the new sensor to the vehicle’s computer.
- Follow the Tool’s Instructions: Carefully follow the instructions provided with the programming tool to complete the sensor programming process. This may involve waving the tool over the sensor or connecting it to the vehicle’s OBD2 port.
Technical Specifications
- TPMS Sensor: The TPMS sensor is typically attached to the valve stem inside the tire. It monitors the tire pressure and transmits the data to the vehicle’s computer.
- Battery Life: The batteries in TPMS sensors generally have a lifespan of 5-10 years, depending on the sensor type and quality.
- Programming Requirements: New TPMS sensors must be programmed to the vehicle’s computer to function correctly. This can be accomplished using a TPMS programming tool.
References
- TPMS Sensor Replacement DIY Guide
- Replacing TPMS Sensors Step-by-Step
- r/HondaElement TPMS Sensor Replacement Discussion
- TPMS Sensor Installation Tutorial
- Corvette Forum TPMS Sensor Install DIY
By following this comprehensive guide, you can confidently tackle the TPMS sensor replacement project in your vehicle, saving time and money while ensuring the proper functioning of your tire pressure monitoring system.
